.jpg)

My favorite Valentine's candy is hands down Conversation Hearts. My favorite brand being Brach's, but in a pinch Necco's Sweethearts will do. When my husband brought home my first box of Necco's, of this Valentine's season, I wondered if it was possible to make them myself. The answer came with a quick google of "homemade conversation hearts". There were a ton of posts with the same conversation heart recipe, so apparently that was the one I was going to use. Although the recipe was extremely easy, the process turned out to be time consuming. Maybe it was because I made 2 batches, but I started around 9:00am and finished at 4:30pm, with only periodic breaks of laying on the floor to relieve my aching back. (Literally.)

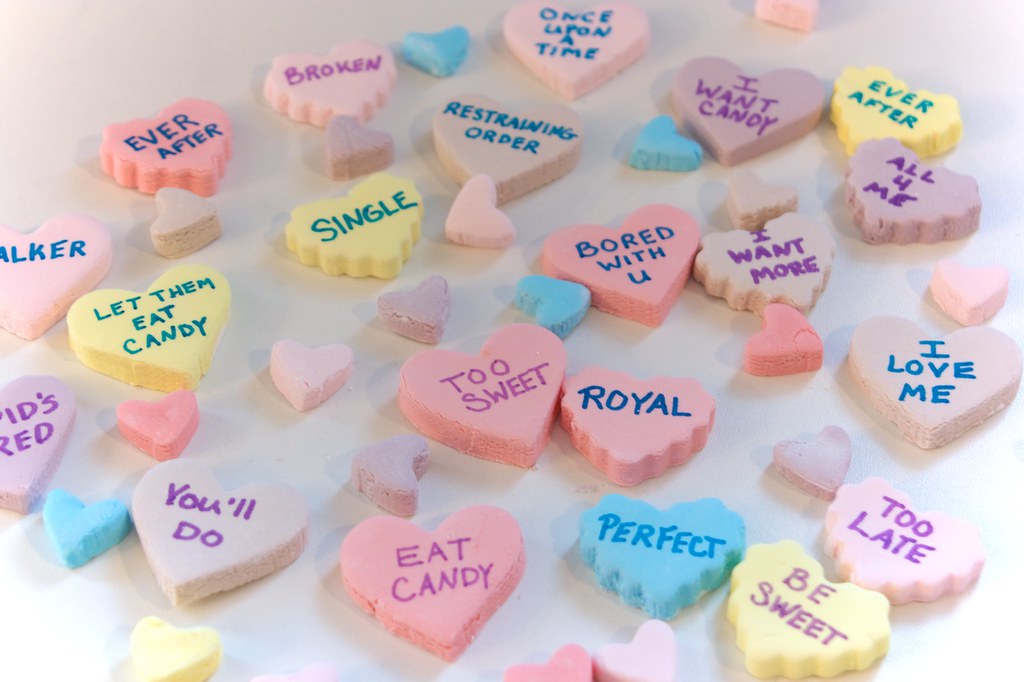
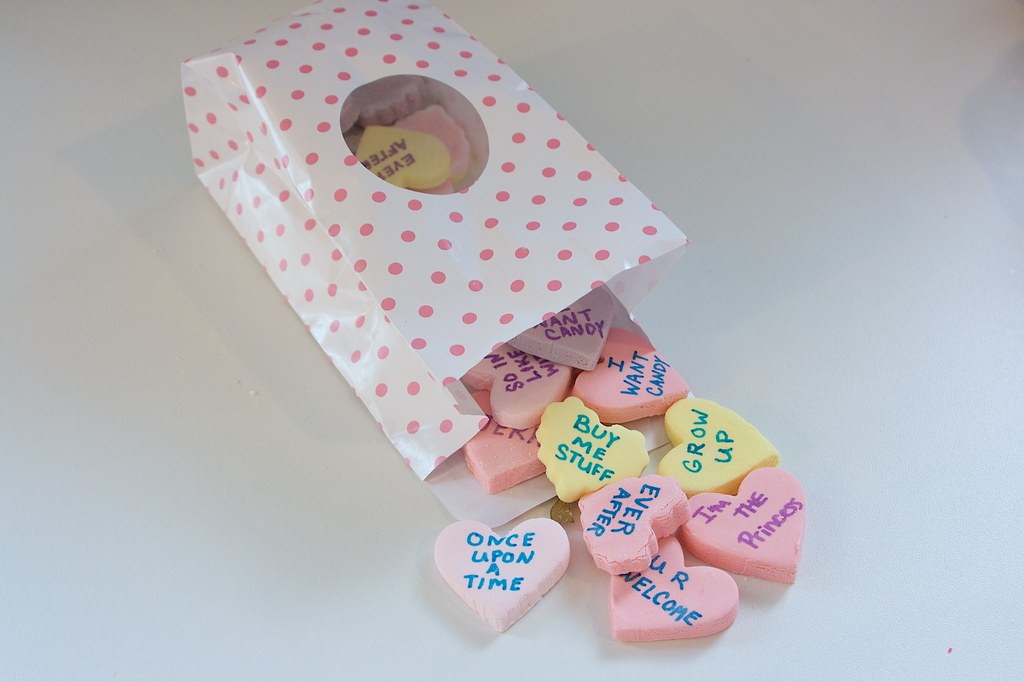
After 24 hours of air drying, the hearts were ready for their conversations. This was the fun part and were my pessimism can really be admired. Go ahead, analyze me, but it was so much easier to come up with snotty conversations than sweet. A trait that rubbed off on my daughter, because she too excelled with the negative when helping me write the messages. The results were amazing, I had about 400 hearts, in 8 different flavors that tasted just like Necco's Sweethearts. (Maybe next year I will be able to figure out Brach's secret.)
Conversation Hearts
from about.com
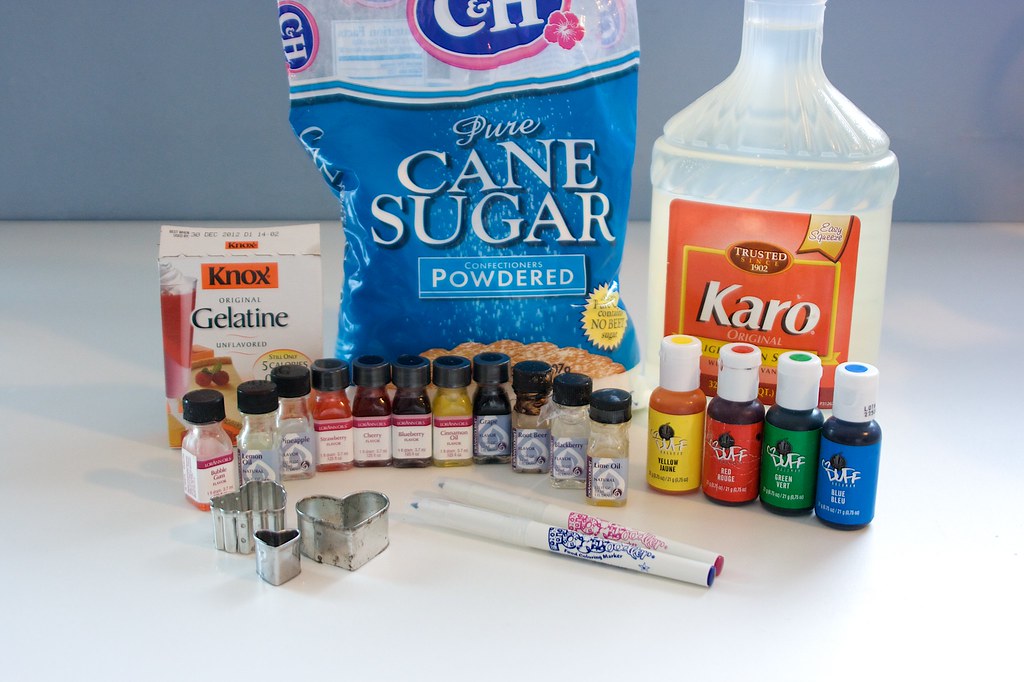
1 packet gelatin
1/2 cup water
2 tsp corn syrup
2 lbs powdered sugar + a few cups for kneading
flavor oils
food color
heart cookie cutters
food markers (found at Michaels or Cake supply stores)
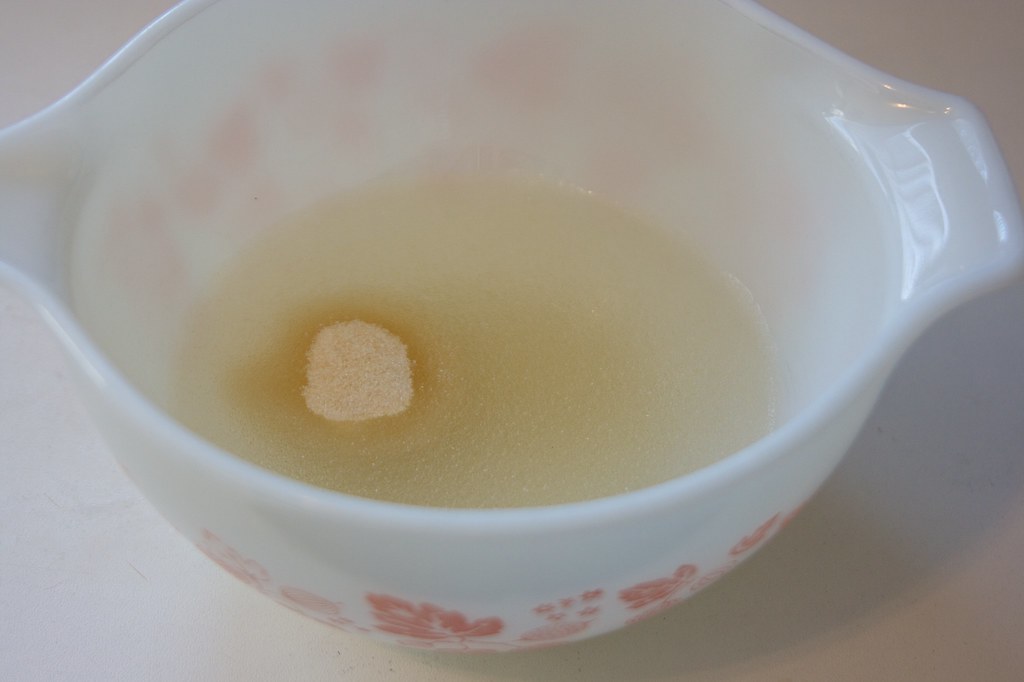
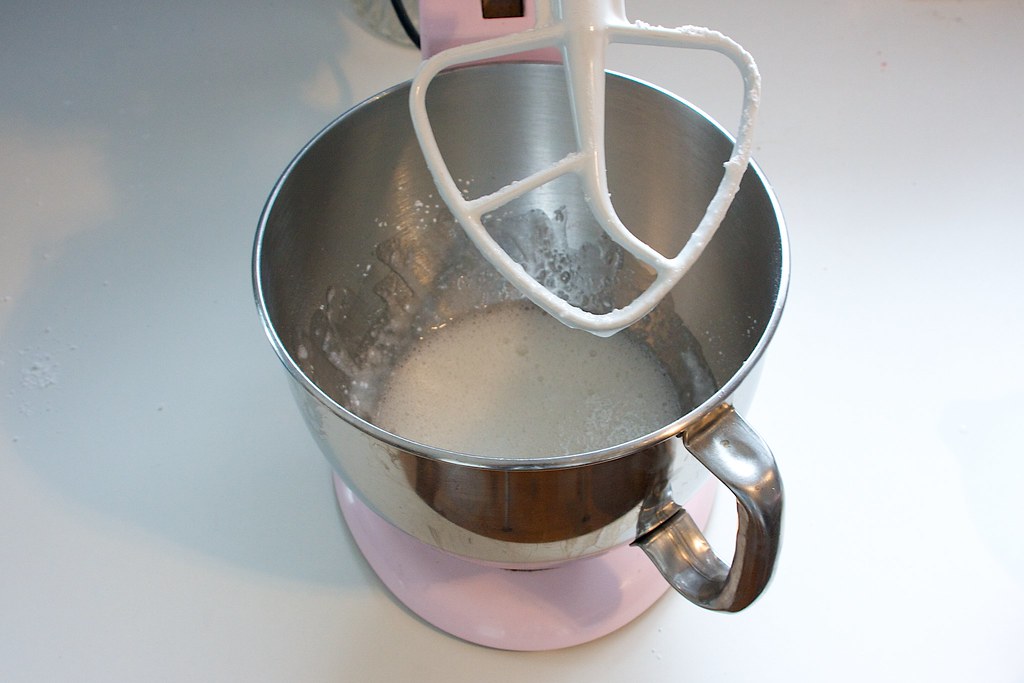
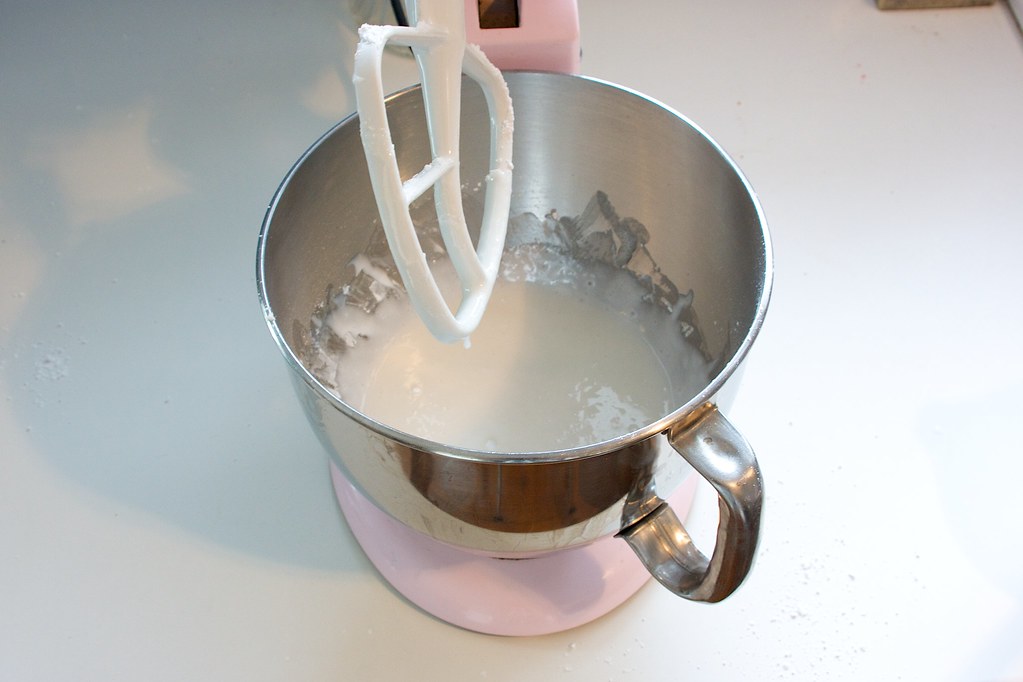
Mix corn syrup, water, and gelatin in a microwave safe bowl, stir until the gelatin is well distributed. Microwave for 30 seconds and stir well.
Pour into a bowl of a stand mixer fitted with the paddle attachment.
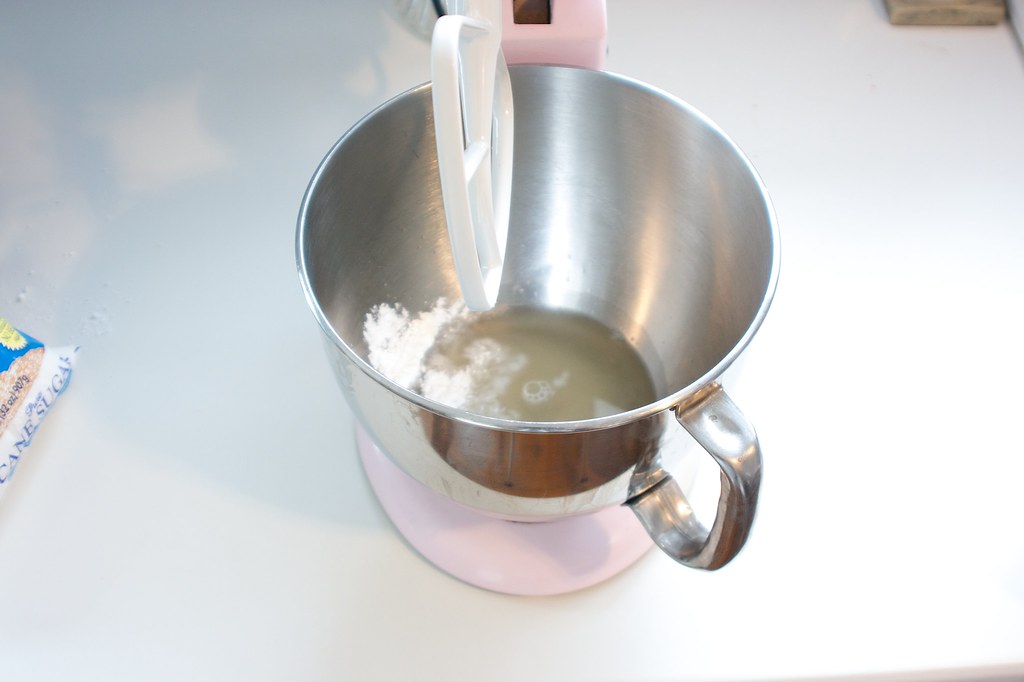
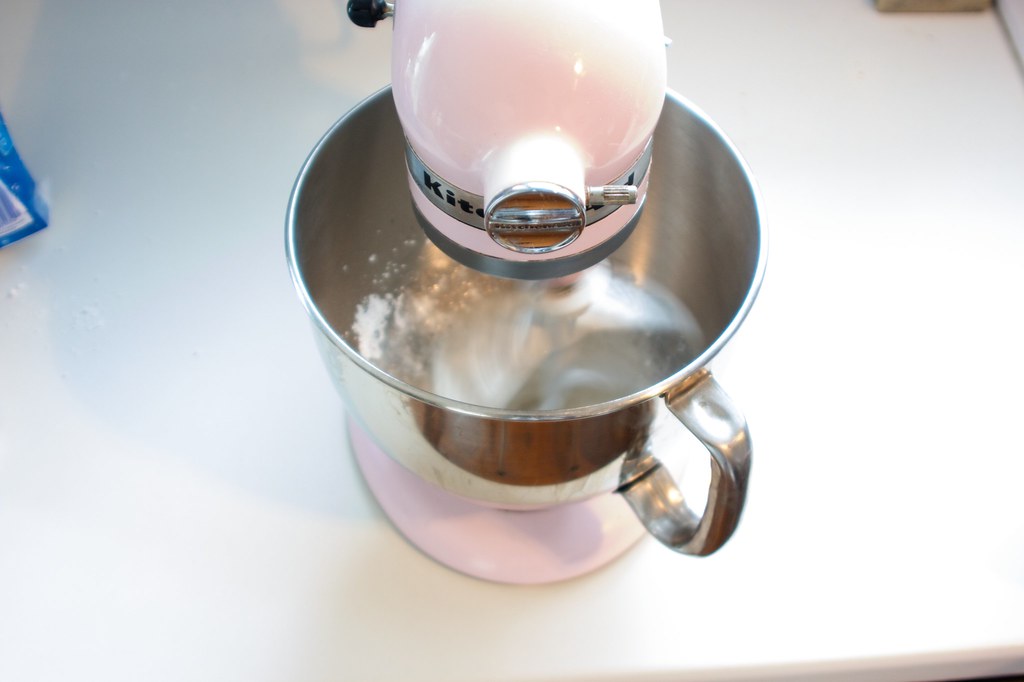
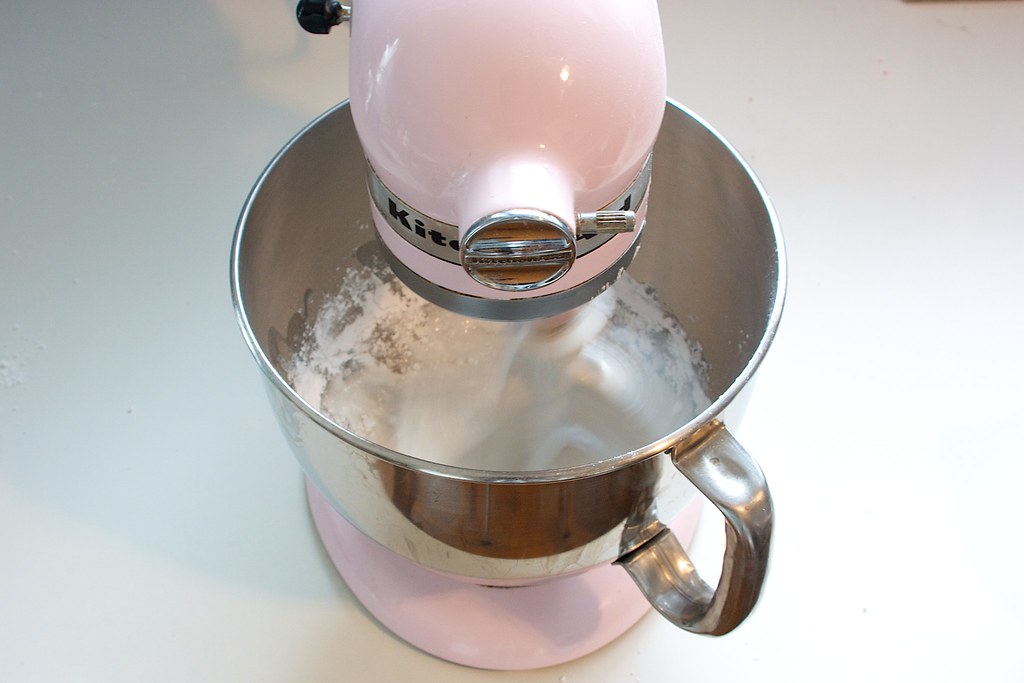
Adding 1 cup of sugar, turn mixer on low and mix until incorporated. Continue to add the sugar one cup at a time, mixing thoroughly in between additions, until all two pounds are added. Stopping the mixer periodically and scraping the sides of the bowl. It will eventually transform from a liquid into a stiff dough. (I promises it will thicken.)


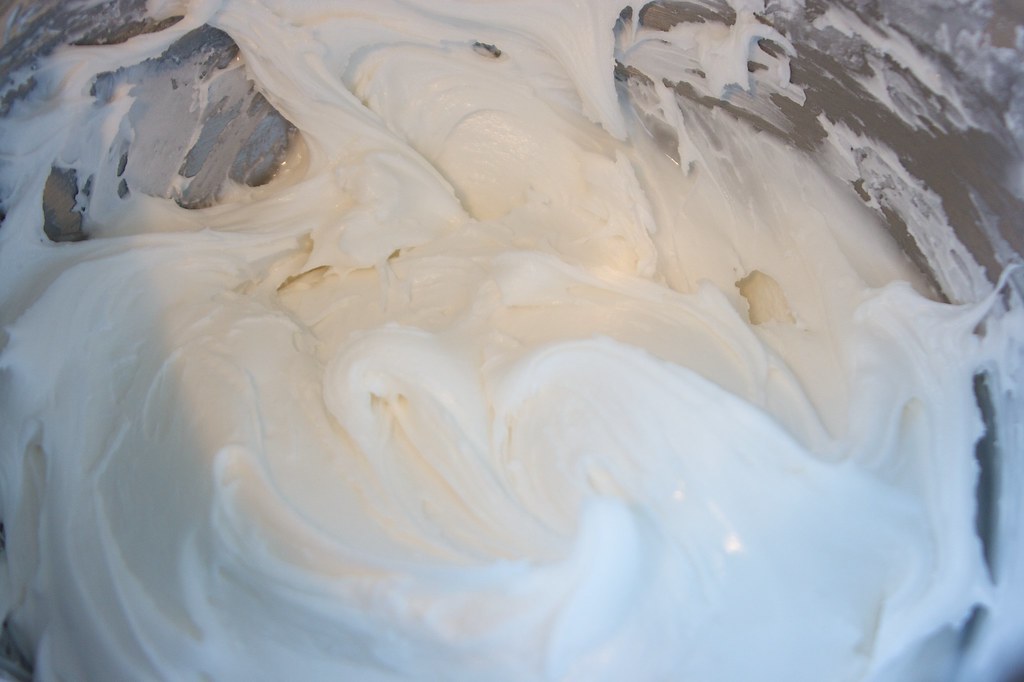
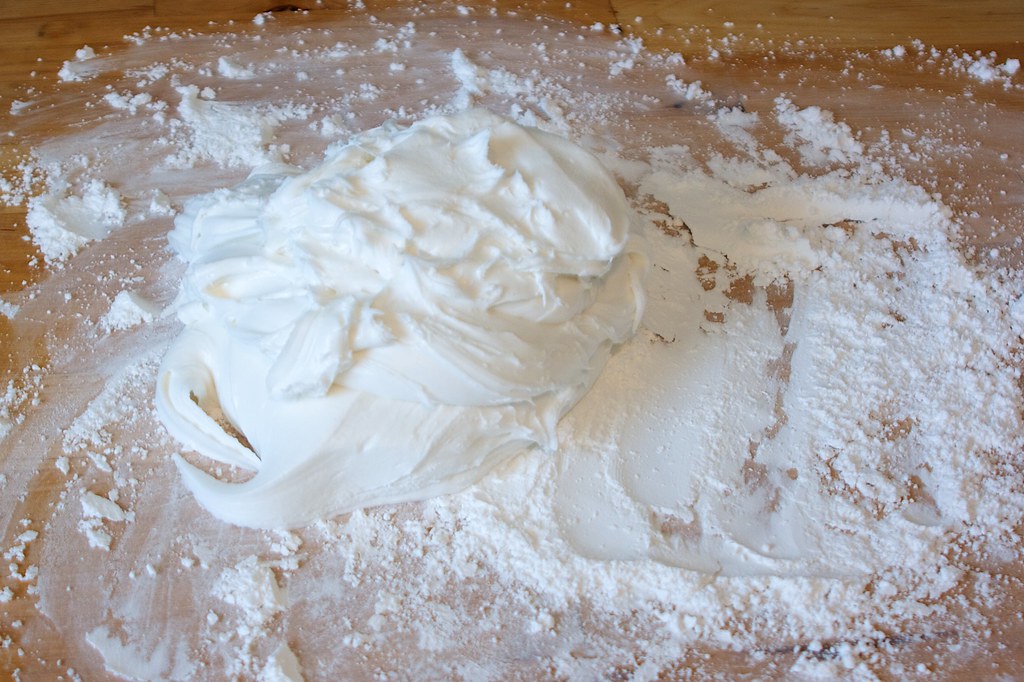
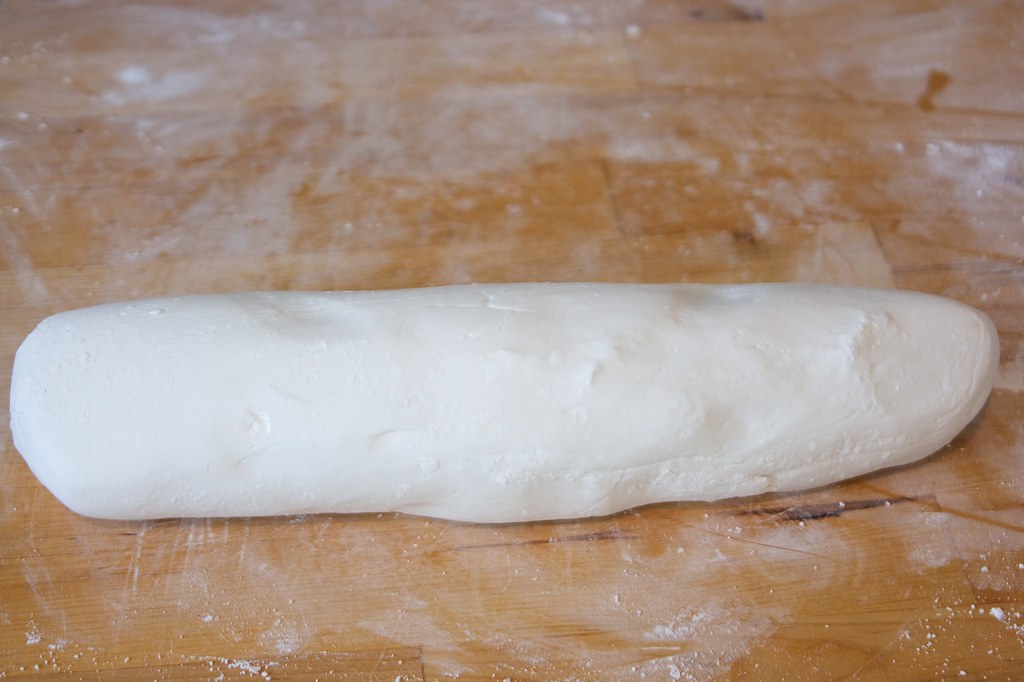
Transfer the dough to a work surface GENEROUSLY dusted with powdered sugar. Dust the top of the dough with powdered sugar and begin to knead like bread. Continue to add powdered sugar as needed to prevent dough from sticking to work surface and hands.(It took me a lot of extra powdered sugar.) Knead until the dough is satiny.


Note: Really think of your flavors and colors before you start, strawberry, bubblegum, cherry are all pink, so really think of what shades you will use to tell them apart when you are done.
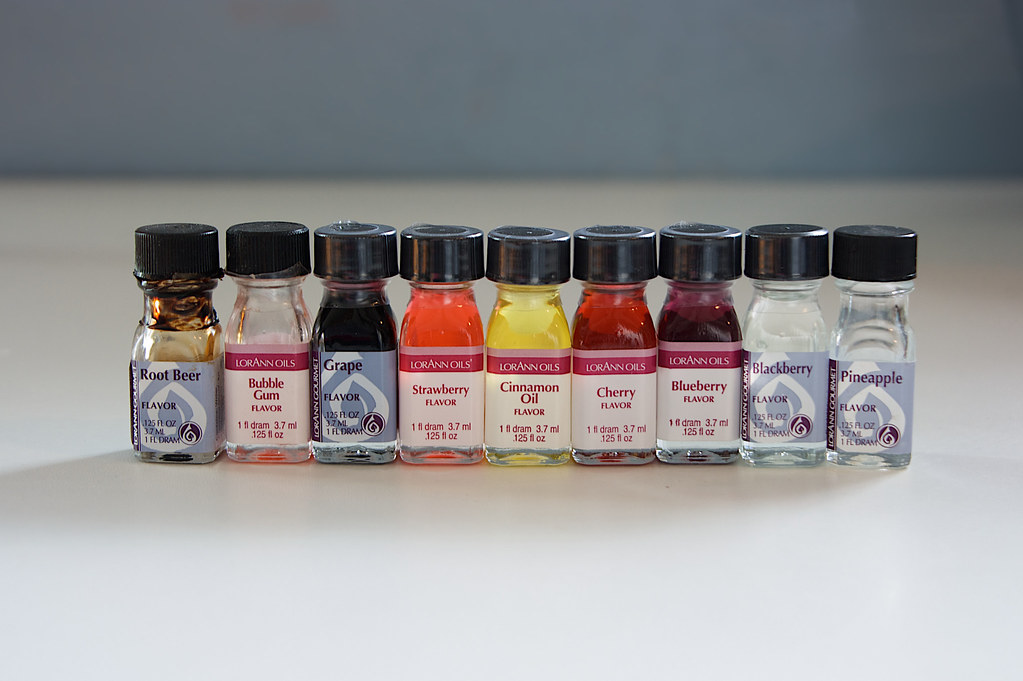
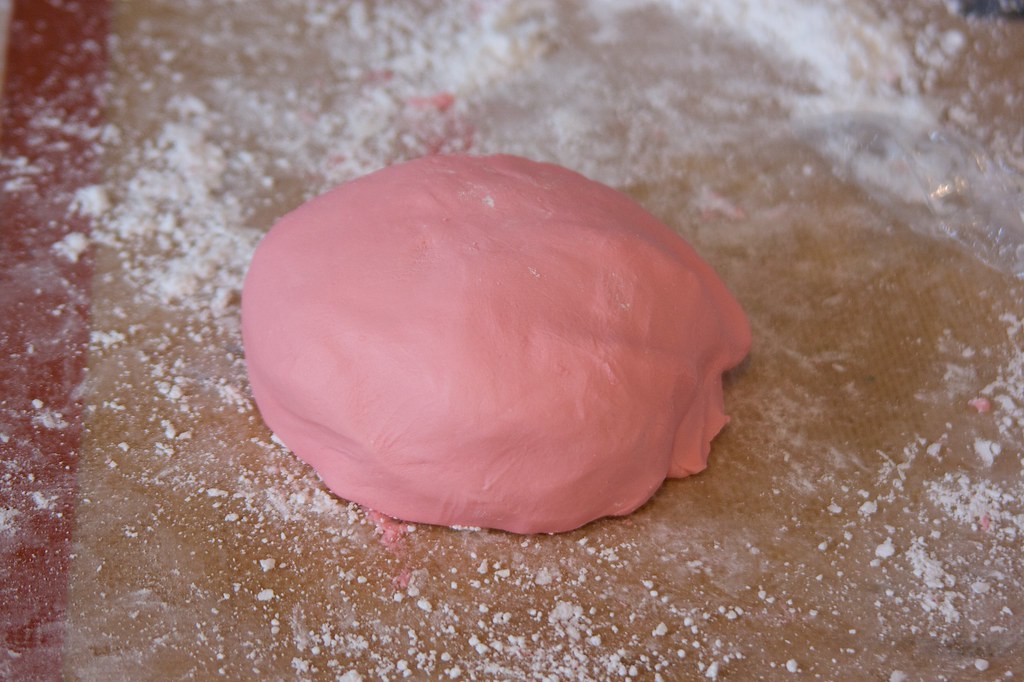
Divide the dough by the number of colors/flavors, wrapping all but one ball with plastic wrap and set aside. Using one of the balls of dough, add food coloring and 2 cap-fulls of flavor oil. Fold the dough over and knead as before, until the color is uniform. Wrap in plastic wrap and continue with the rest of the balls of dough.


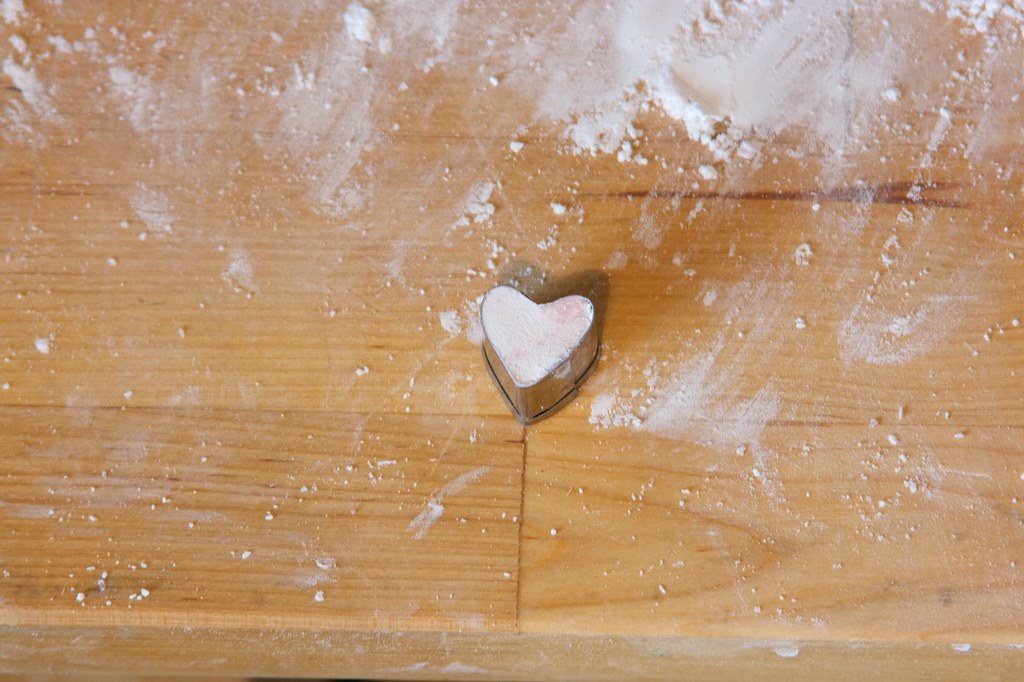
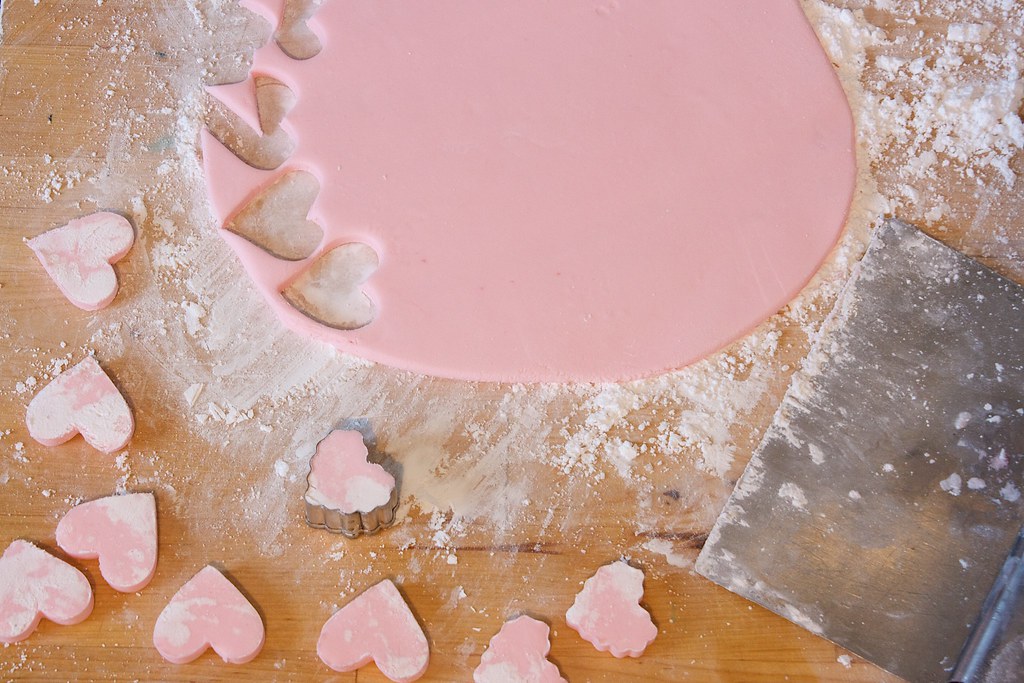
Dust work surface and rolling pin with powdered sugar. Roll dough out to desired thickness. Cut out with cookie cutters and transfer to a parchment lined cookie sheet. The dough can be a little tricky to get out of the cutter, I found a magic trick of tapping the cutter on each side, upside down, and then tap it out the bottom. Re-roll scraps and continue cutting out hearts. Repeat with the rest of the dough.

Allow to air dry for 24-48 hours before you write on them. Do not cheat, the moisture in the candy will cause the ink to run if they don't dry completely. Also dust off any remaining powdered sugar because it too will make the writing bleed.

Once they have dried use an edible marker to write your sweet or bitter messages. Store in an airtight container at room temperature.

I know this was a year ago, but it's so nice to know I'm not the only one who lies on the kitchen floor to relieve my baker's back!
ReplyDelete